The Nutter Butter Ghosts are not just snacks; they are tiny, delightful specters of joy that dance on your taste buds. Imagine biting into a chocolate-covered peanut butter cookie, the sweet and salty combination exploding in your mouth like a mini Halloween party. cookies and cream cheesecake The creamy texture of the peanut butter filling pairs perfectly with the crunch of the cookie, creating a hauntingly delicious treat that’s perfect for any spooky occasion. spooktacular whoopie pies Halloween sugar cookie bars. For more inspiration, check out this Delightful Easter MM Cookies recipe.
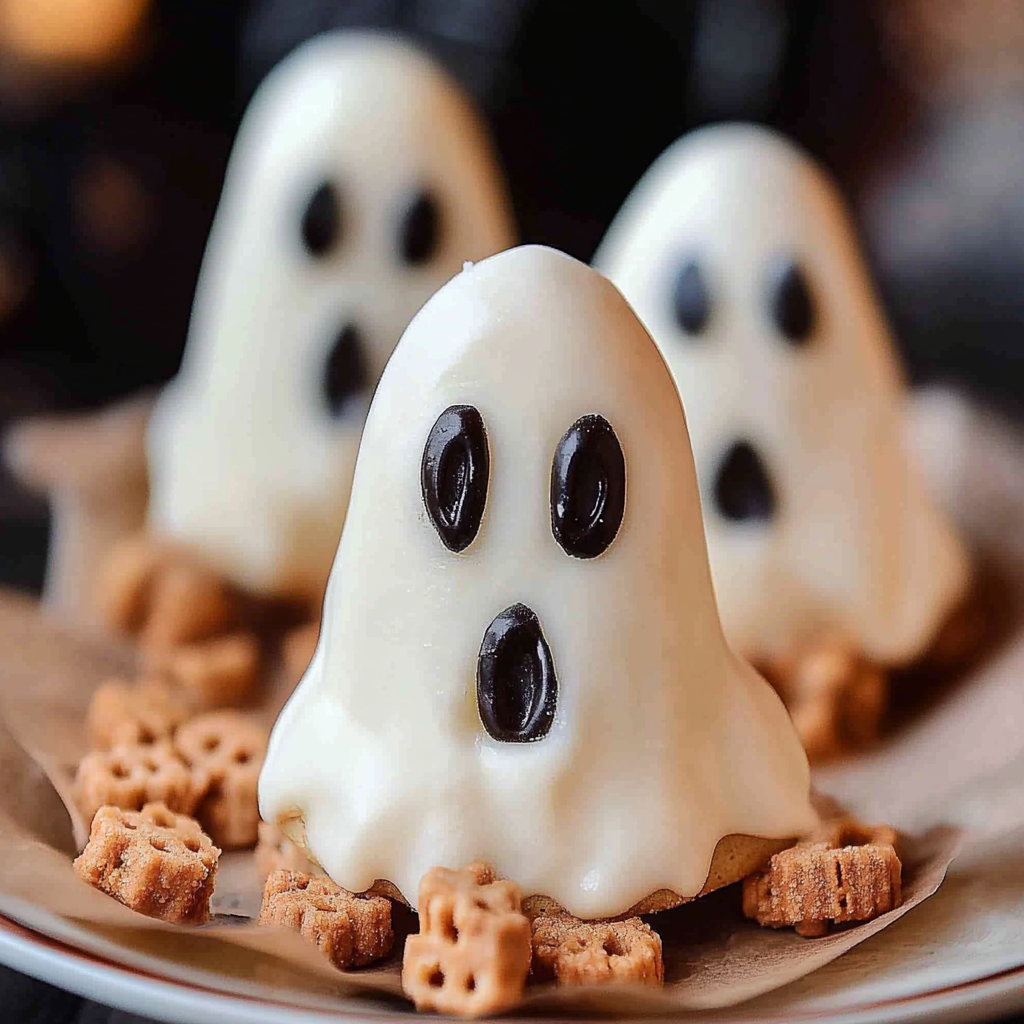
Picture this: it’s Halloween, and you’re surrounded by friends, laughter, and the faint sound of ghosts whispering in the wind. You bring out these Nutter Butter Ghosts, and suddenly, everyone is captivated by their playful appearance and delicious flavor. These little treats not only satisfy your sweet tooth but also spark nostalgia and joy as you share them with loved ones. For more inspiration, check out this Delicious Easter Cookies recipe.
Why You'll Love This Recipe
- Making Nutter Butter Ghosts is a breeze; they require minimal ingredients and time
- Their adorable appearance makes them a hit at any gathering or celebration
- The unique blend of flavors will keep everyone coming back for more
- Plus, they’re versatile enough to be customized for any festive occasion
I remember the first time I made these ghostly delights for a Halloween party. My friends couldn’t get enough of them, and one brave soul even tried to convince me they were made with “real ghosts!”
Essential Ingredients
Here’s what you’ll need to make this delicious dish:
- Nutter Butter Cookies: These iconic peanut butter cookies are essential for the ghost shape and flavor.
- White Chocolate Melts: Choose high-quality melts for smooth melting and coating.
- Chocolate Chips: Mini chocolate chips work best for creating those spooky eyes.
- Black Food Coloring (optional): For adding extra detail to your ghosts if you’re feeling artistic.
The full ingredients list, including measurements, is provided in the recipe card directly below.
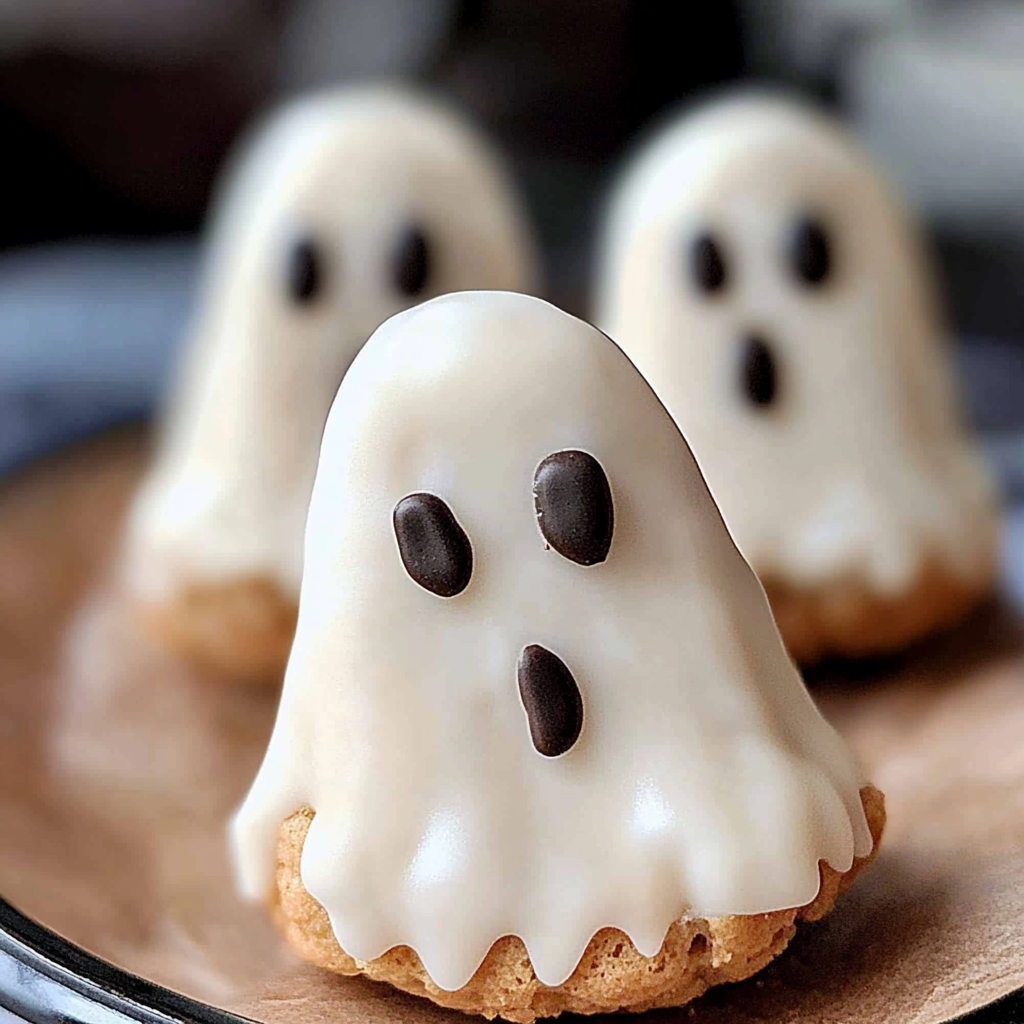
Let’s Make it together
Prepare Your Workspace: Start by gathering all your ingredients and tools. Line a baking sheet with parchment paper to prevent sticking.
Melt the White Chocolate: In a microwave-safe bowl, heat white chocolate melts in 30-second intervals until smooth and creamy. Stir well to avoid burning.
Dip the Cookies: Using a fork, dip each Nutter Butter cookie into melted white chocolate until fully coated. Allow excess chocolate to drip off before placing on parchment paper.
Add Eyes: While the coating is still wet, gently press mini chocolate chips onto each ghost for eyes—get creative if you want to use food coloring!
Chill Until Set: Place your coated cookies in the refrigerator for about 30 minutes or until the chocolate hardens completely.
Serve & Enjoy!: Once set, serve your Nutter Butter Ghosts on a spooky platter or share them at your next Halloween bash! spooky marshmallow brains.
Now you have everything you need to create these hauntingly delicious treats that will surely become a favorite at every festive occasion!
You Must Know
- Nutter Butter Ghosts are not just adorable; they also bring a delightful crunch and creamy filling that makes everyone smile
- Perfect for Halloween or any spooky gathering, these treats are simple to make and perfect for baking with kids
Perfecting the Cooking Process
Start by preparing your workspace. Melt the chocolate first, then dip each cookie into it while it’s still warm for even coating.
Add Your Touch
Feel free to switch up the decorations! Use colored sprinkles or edible glitter for a fun twist on Halloween ghosts.
Storing & Reheating
Store your Nutter Butter Ghosts in an airtight container at room temperature. They stay fresh for about a week, no reheating needed!
Chef's Helpful Tips
- Nutter Butter Ghosts can be made ahead of time, making them great for parties
- Use white chocolate melts for a smoother finish
- Chilling the cookies before dipping ensures better chocolate adhesion
There’s nothing like the delight of seeing kids’ faces light up when they spot these spooky sweets at a party. I remember my niece squealing with joy when she first saw them!
FAQ
Can I use dark chocolate instead of white chocolate?
Absolutely! Dark chocolate gives a richer flavor to your Nutter Butter Ghosts.
How long do Nutter Butter Ghosts last?
They typically last about a week if stored in an airtight container.
Can I customize the decorations?
Yes! Get creative with different colors and sprinkles for a unique look.
Nutter Butter Ghosts
5 Stars 4 Stars 3 Stars 2 Stars 1 Star
No reviews
- Author: Mery Mack
- Total Time: 15 minutes
- Yield: Makes about 16 cookies 1x
Description
Delight in the spooky spirit of Halloween with these charming Nutter Butter Ghosts! These bite-sized treats combine the rich flavor of chocolate-covered peanut butter cookies with a playful ghostly design, making them perfect for parties or family gatherings. Easy to make and fun to decorate, they will surely be a hit among kids and adults alike. Gather your ingredients and let’s bring some festive cheer to your table!
Ingredients
- 1 package Nutter Butter cookies (about 16 cookies)
- 1 cup white chocolate melts
- 1/4 cup mini chocolate chips for eyes
- Black food coloring (optional)
Instructions
- Prepare your workspace by lining a baking sheet with parchment paper.
- In a microwave-safe bowl, melt the white chocolate melts in 30-second intervals until smooth.
- Dip each Nutter Butter cookie into the melted white chocolate, ensuring full coverage. Allow excess chocolate to drip off before placing it on the parchment paper.
- While the coating is still wet, gently press mini chocolate chips onto each cookie as eyes.
- Chill in the refrigerator for about 30 minutes or until set.
- Serve on a spooky platter at your next Halloween gathering.
- Prep Time: 15 minutes
- Cook Time: 0 minutes
- Category: Dessert
- Method: No cooking required, mainly decorating
- Cuisine: American
Nutrition
- Serving Size: 1 cookie (29g)
- Calories: 150
- Sugar: 10g
- Sodium: 50mg
- Fat: 8g
- Saturated Fat: 4g
- Unsaturated Fat: 3g
- Trans Fat: 0g
- Carbohydrates: 18g
- Fiber: 1g
- Protein: 2g
- Cholesterol: 0mg

