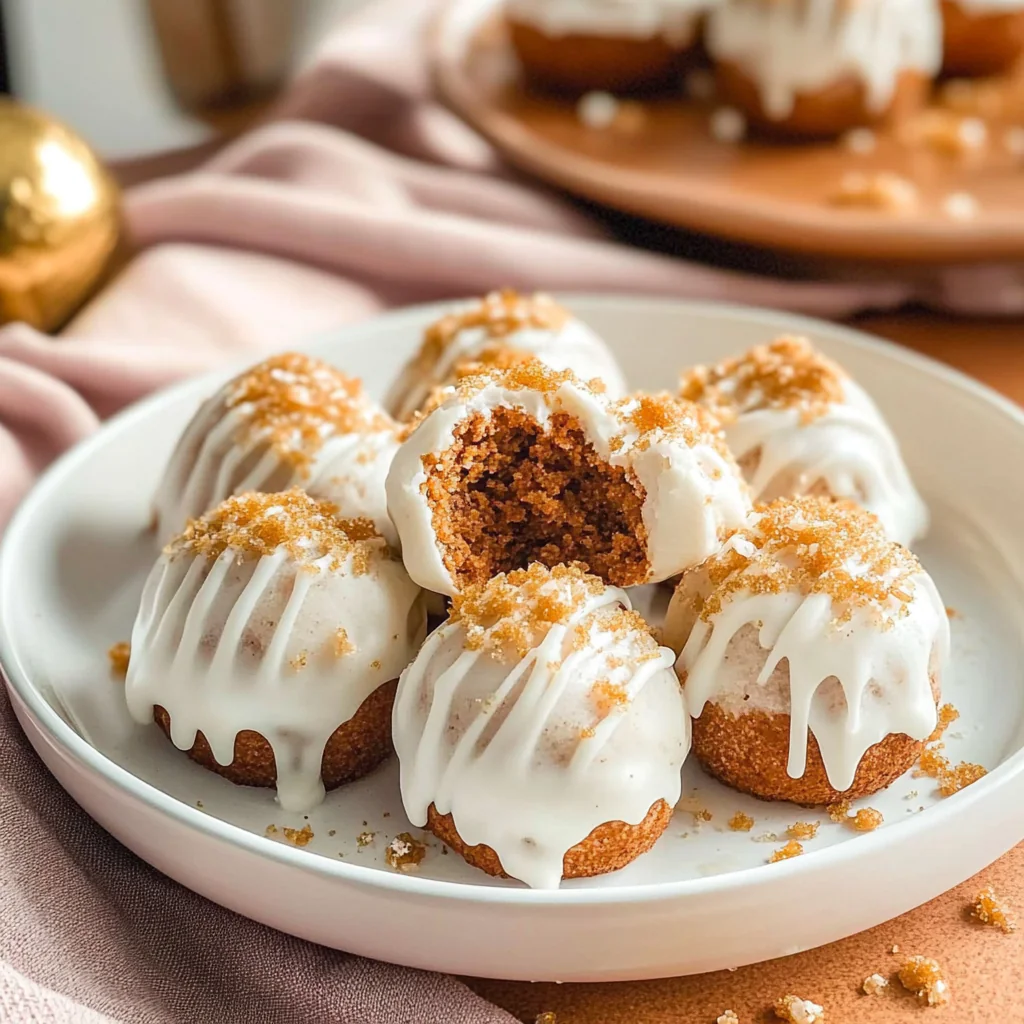
The aroma of freshly baked cookies fills the kitchen, mingling with the excitement of Halloween. Imagine a batch of Halloween Mummy Cookies, all wrapped up in white icing like little ghoulish treats waiting to be devoured. ghost fruit kabobs Whether you’re preparing for a spooky gathering or just want to add some festive fun to your week, these cookies promise to delight both young and old alike.
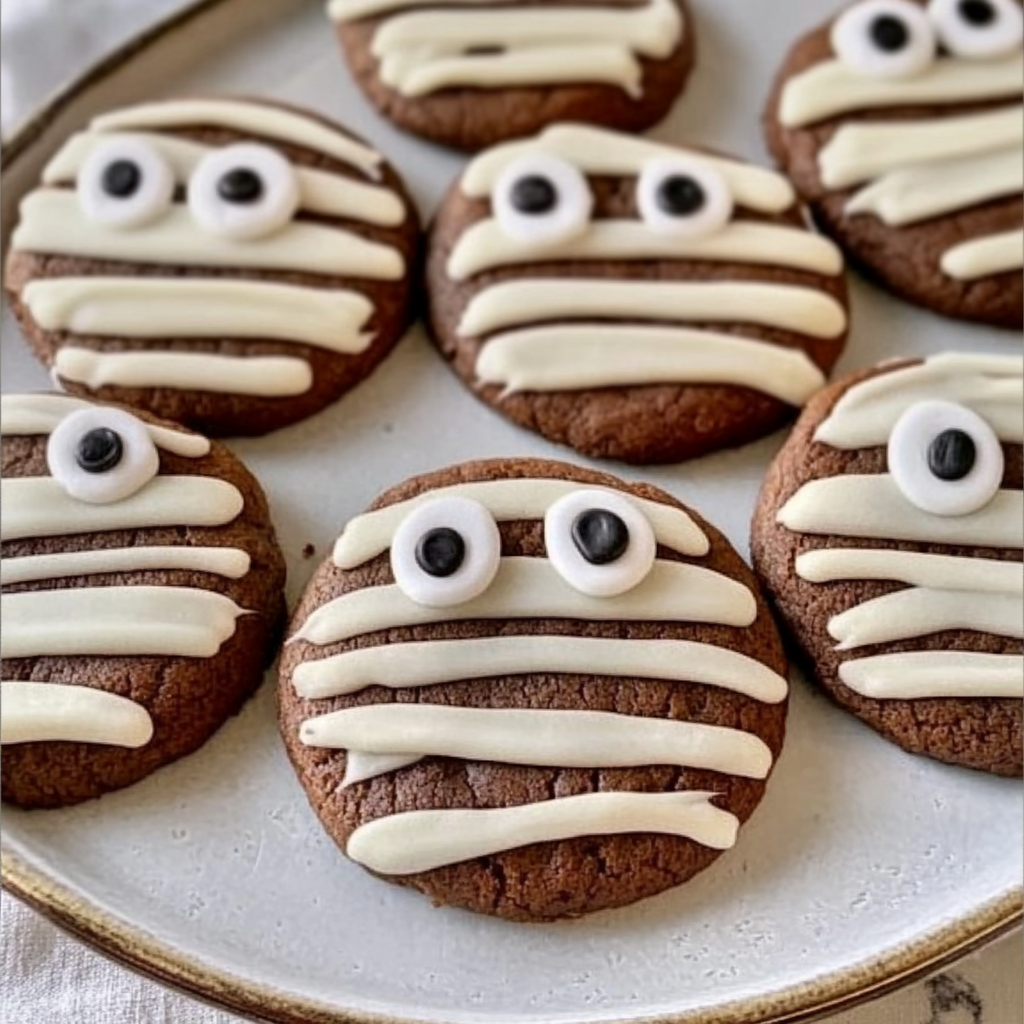
As I recall my first attempt at making these delightful morsels, I can’t help but chuckle. It was Halloween night, and I was determined to impress my kids with my culinary prowess. Let’s just say that my “mummies” looked more like confused zombies. But they loved them anyway, and that’s what really counts! These cookies are not only cute but also incredibly tasty, making them the perfect addition to your Halloween festivities. For more inspiration, check out this Delightful Easter MM Cookies recipe.
Why You'll Love This Recipe
- These Halloween Mummy Cookies are simple to prepare and make for a fun family activity
- With their delicious vanilla flavor wrapped in sweet icing, they’re visually striking on any dessert table
- They are versatile enough that you can change the decorations based on your creativity or available ingredients
- Plus, they’re a guaranteed hit at parties and gatherings!
I remember one Halloween when we made these cookies together; the laughter and sticky fingers were priceless moments shared in the kitchen.

Essential Ingredients
Here’s what you’ll need to make this delicious dish:
- All-Purpose Flour: Standard flour works best for achieving the right cookie texture; avoid any substitutes for best results.
- Sugar: Granulated sugar adds sweetness and helps create that lovely crispy edge we all adore.
- Baking Powder: This helps the cookies rise perfectly; no flat mummies allowed here!
- Salt: Just a pinch enhances all the flavors; it’s like a secret ingredient that every cookie needs.
- Unsalted Butter: Use softened butter for easy mixing; it gives those cookies a rich flavor.
- Large Egg: An egg binds everything together nicely, ensuring your cookies don’t fall apart at the first bite.
- Vanilla Extract: A splash of vanilla adds warmth and depth to each cookie; trust me, it’s essential!
- White Icing or Fondant: This is key for creating those mummy wraps; don’t skimp on decoration!
- Chocolate Chips or Candy Eyes: These add personality and charm—your mummies deserve some character! spider web chocolate pretzels.
The full ingredients list, including measurements, is provided in the recipe card directly below.
Let’s Make it Together
Preheat your oven to 350°F (175°C) while you gather your ingredients—this will ensure even baking from the start. Line a baking sheet with parchment paper so those cookies won’t stick and create a messy clean-up later.
Mix Your Dry Ingredients: In a large bowl, whisk together flour, baking powder, and salt until well combined. The mixture should feel light and airy as you stir.
Cream Butter and Sugar: In another bowl, beat softened butter and sugar until fluffy—about 3-4 minutes. You want it creamy enough that it looks like clouds on a sunny day!
Add Egg and Vanilla: Mix in the egg and vanilla extract until fully incorporated. Your mixture should now be smooth with hints of sweetness wafting through your kitchen.
Combine Wet and Dry: Gradually add the dry mixture into the wet ingredients, stirring until just combined. Avoid overmixing; we want tender cookies rather than tough ones!
Scoop and Bake: Using a tablespoon or cookie scoop, drop dough onto prepared baking sheets about two inches apart. Bake for 10-12 minutes until lightly golden—don’t forget to keep an eye on them!
Create Mummy Magic: Once cooled completely, use white icing or fondant to wrap each cookie like a mummy. Add chocolate chips or candy eyes for those adorable finishing touches.
Enjoy these delightful Halloween Mummy Cookies with family and friends—they’re sure to bring smiles all around while keeping the spooky spirit alive! monster popcorn mix. Halloween cheesecake brownies.
You Must Know
- Baking Halloween Mummy Cookies is not just about looks; it’s a delightful combination of flavors, textures, and fun!
- The aroma of vanilla wafting through the kitchen will have everyone wondering what spooky treat awaits them
- A simple recipe that brings smiles and giggles!
Perfecting the Cooking Process
Start by preparing the cookie dough first, then chill while you preheat the oven. This ensures perfectly shaped cookies that don’t spread too much during baking.
Add Your Touch
Feel free to swap chocolate chips for candy corn or use different icing colors for unique mummies. Get creative with toppings to make your cookies truly one-of-a-kind!
Storing & Reheating
Store your Halloween Mummy Cookies in an airtight container at room temperature. For best taste, enjoy them fresh within a week! For more inspiration, check out this Delicious Easter Cookies recipe.
Chef's Helpful Tips
- To achieve the perfect cookie texture, avoid overmixing your dough
- Instead, mix until just combined for soft cookies
- Remember to let your cookies cool completely before decorating to prevent icing from melting
- Keep your icing bags sealed when not in use to prevent hardening
Baking these cookies reminds me of the years I spent decorating them with my kids. Their laughter filled the kitchen, and we ended up with more icing on ourselves than on the cookies!
FAQ
Can I make Halloween Mummy Cookies ahead of time?
Yes, you can bake and store them for up to a week in advance.
What is the best way to decorate these cookies?
Use melted white chocolate or royal icing for an easy mummy look.
How do I ensure my cookies are soft and chewy?
Avoid overbaking and let them cool on the baking sheet for a few minutes before transferring.
Halloween Mummy Cookies
5 Stars 4 Stars 3 Stars 2 Stars 1 Star
No reviews
- Author: Mery Mack
- Total Time: 27 minutes
- Yield: Approximately 24 cookies 1x
Description
Bite into Halloween magic with these delightful Halloween Mummy Cookies! Wrapped in sweet white icing and adorned with chocolate eyes, these treats are perfect for spooktacular gatherings. Easy to make and incredibly fun, they offer a delicious vanilla flavor that both kids and adults will love. Create lasting memories as you bake together this Halloween season!
Ingredients
- 2 ½ cups all-purpose flour
- 1 cup granulated sugar
- 1 tsp baking powder
- ½ tsp salt
- 1 cup unsalted butter, softened
- 1 large egg
- 2 tsp vanilla extract
- 2 cups white icing or fondant
- Chocolate chips or candy eyes for decoration
Instructions
- Preheat your oven to 350°F (175°C) and line a baking sheet with parchment paper.
- In a large bowl, whisk together flour, baking powder, and salt.
- In another bowl, beat the softened butter and sugar until fluffy (3-4 minutes).
- Mix in the egg and vanilla extract until smooth.
- Gradually combine the dry ingredients with the wet mixture until just combined.
- Scoop tablespoon-sized portions onto the prepared baking sheet about two inches apart.
- Bake for 10-12 minutes or until lightly golden. Allow to cool completely.
- Decorate each cookie with white icing or fondant to resemble mummies and add chocolate eyes.
- Prep Time: 15 minutes
- Cook Time: 12 minutes
- Category: Dessert
- Method: Baking
- Cuisine: American
Nutrition
- Serving Size: 1 cookie (30g)
- Calories: 150
- Sugar: 10g
- Sodium: 80mg
- Fat: 7g
- Saturated Fat: 4g
- Unsaturated Fat: 2g
- Trans Fat: 0g
- Carbohydrates: 20g
- Fiber: 0g
- Protein: 2g
- Cholesterol: 20mg

