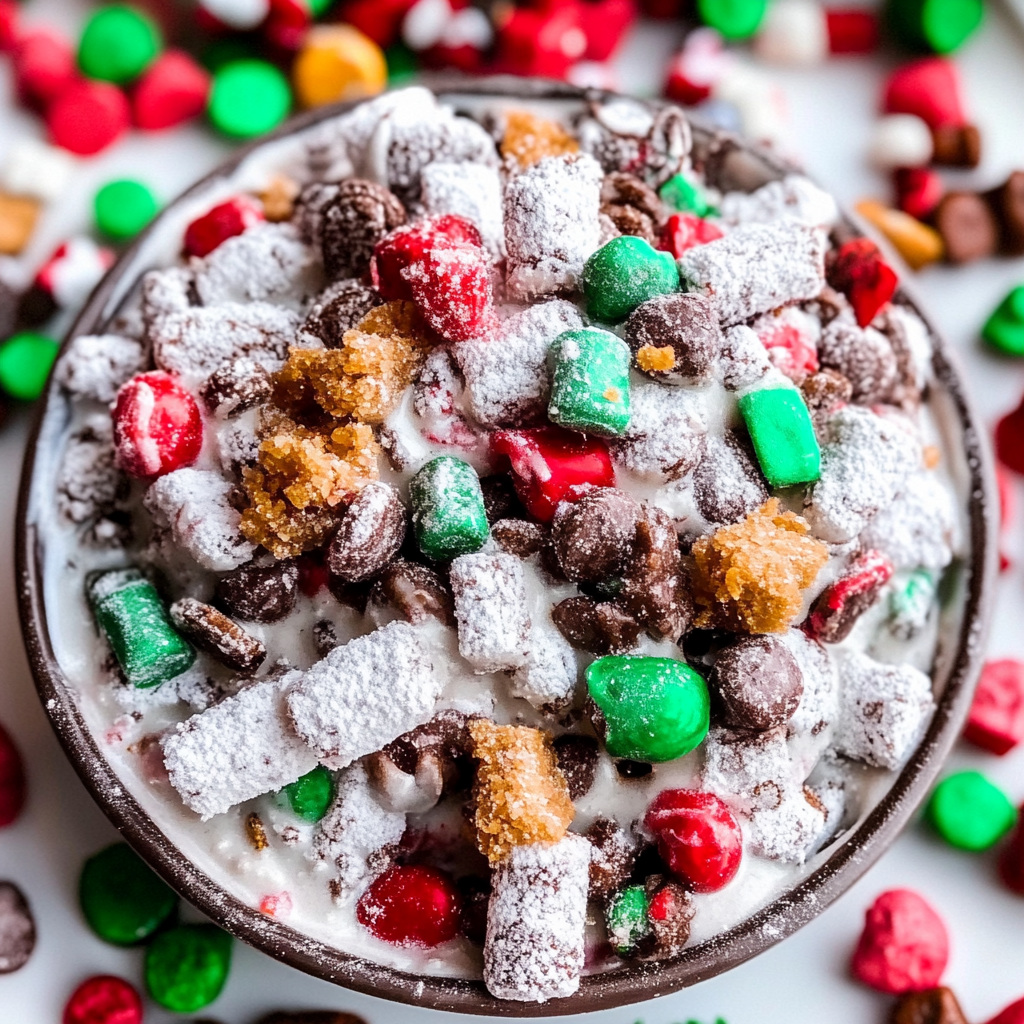
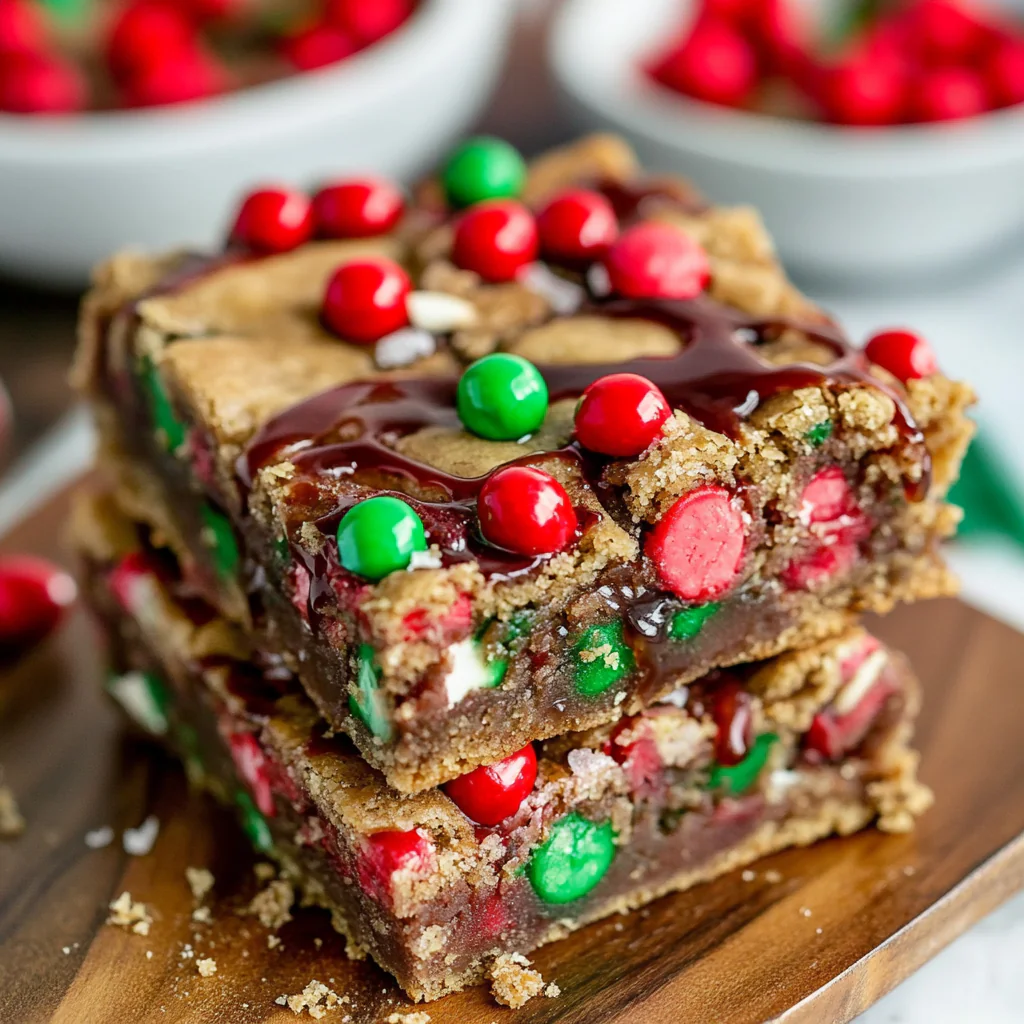
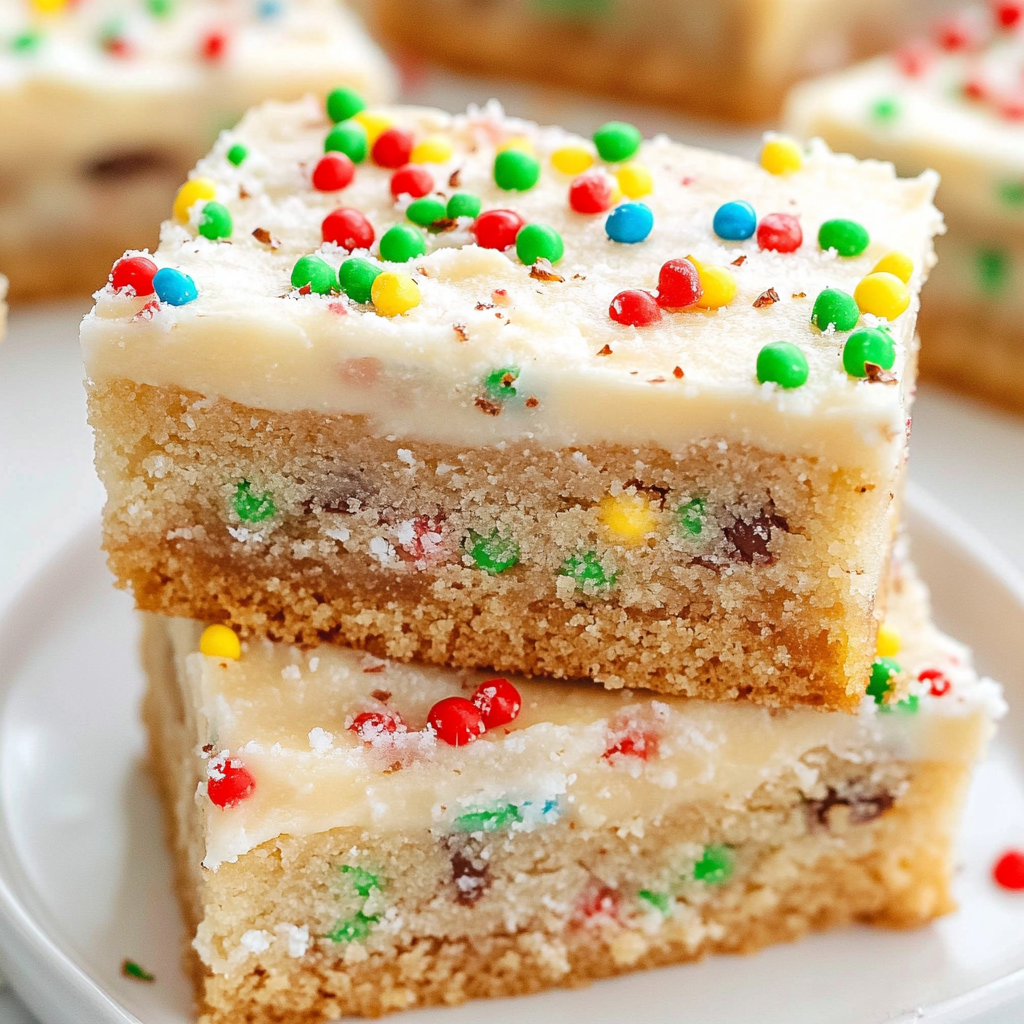
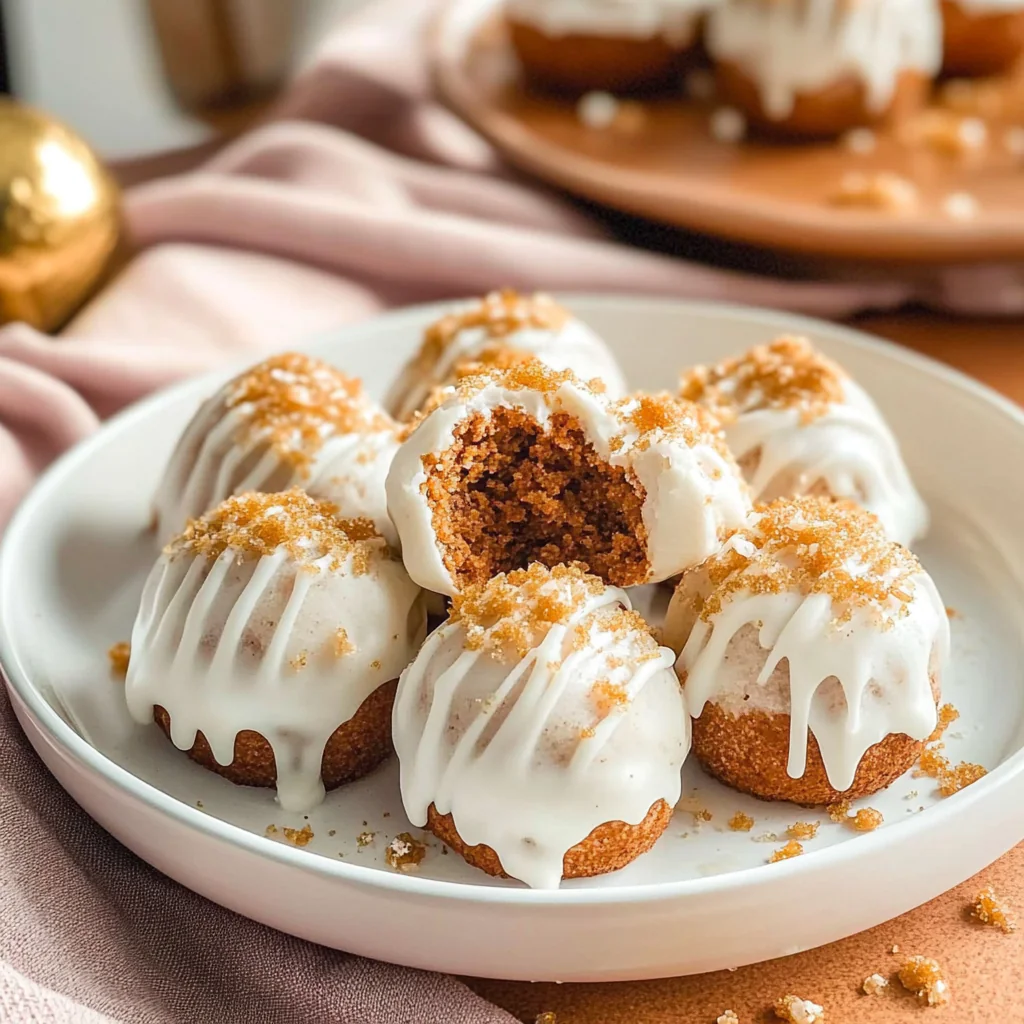
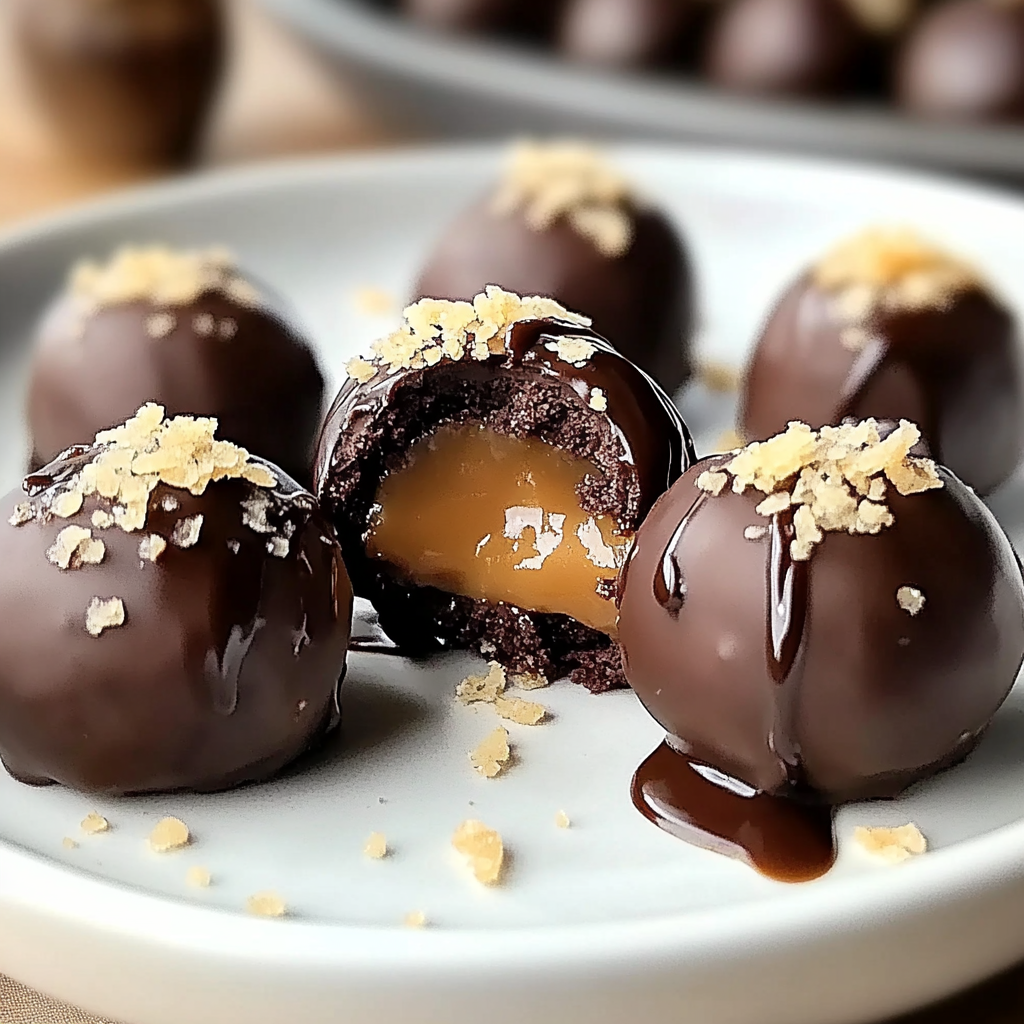
There’s something magical about the aroma of freshly baked Easter chocolate cookies wafting through your kitchen. Picture this: your oven working its magic as you eagerly anticipate biting into a soft, gooey cookie that melts in your mouth. It’s a sensory delight that doesn’t just taste heavenly but also brings back fond memories of family gatherings and laughter.
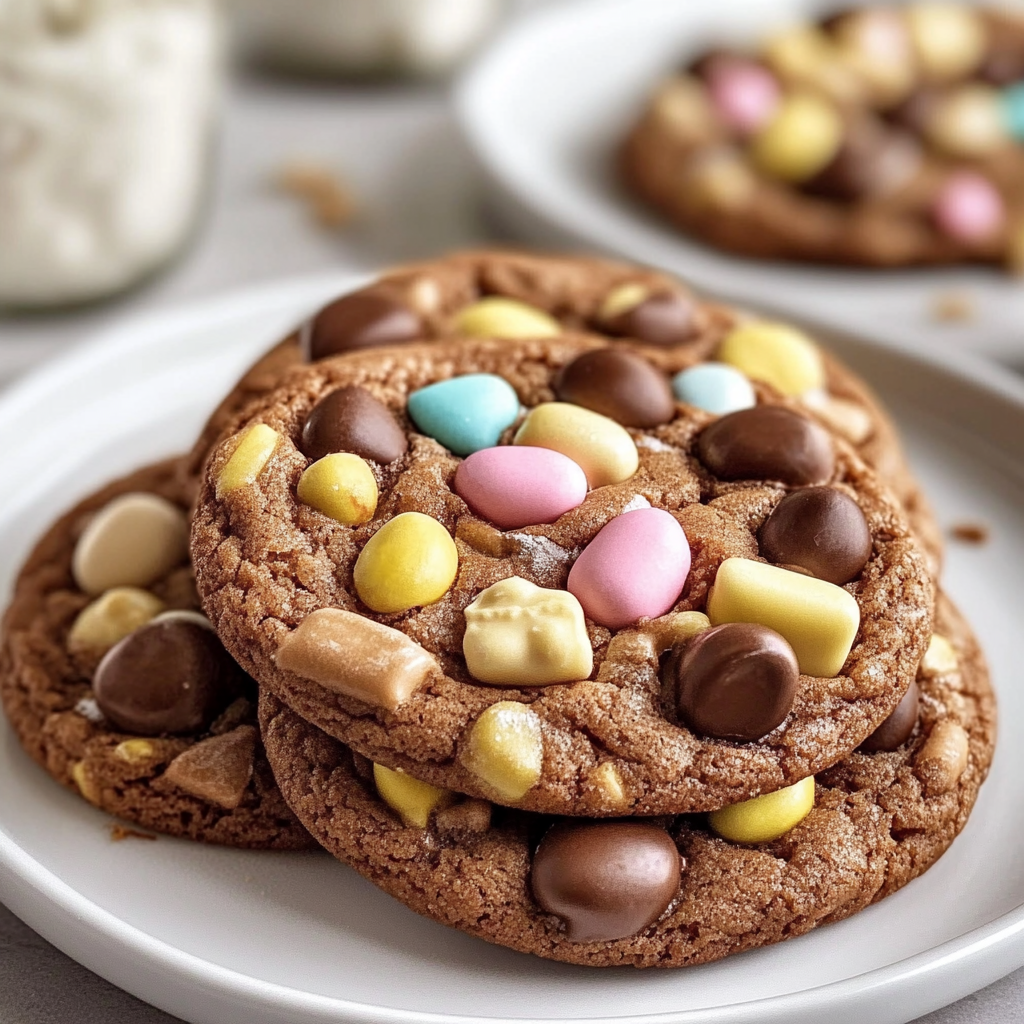
As I recall those sunny Spring afternoons filled with colorful egg hunts and joyous family feasts, nothing brought more smiles than sharing these delightful treats. These cookies are not just baked goods; they’re a symbol of togetherness and celebration. Get ready to embark on a sweet journey that’s perfect for any Easter feast or just because you deserve something delicious.
Why You'll Love This Recipe
- These Easter chocolate cookies are incredibly easy to whip up, making them perfect for last-minute baking.
- Their rich flavor profile will satisfy any chocolate lover’s cravings.
- Visually appealing with colorful sprinkles, they add cheer to any occasion.
- Enjoy them during celebrations or as an everyday treat; they never disappoint!
I’ll never forget the time my cousin tried one of these cookies and exclaimed it was like “biting into happiness.” That kind of feedback makes all the flour dust worth it!
Essential Ingredients
Here’s what you’ll need to make this delicious dish:
- All-Purpose Flour: The backbone of any cookie dough; choose unbleached flour for a richer flavor.
- Cocoa Powder: Use unsweetened cocoa powder for that deep chocolatey goodness.
- Granulated Sugar: Sweeten things up; adjust based on your preference—just don’t overdo it!
- Brown Sugar: This adds moisture and a lovely caramel note to your cookies.
- Baking Soda: Essential for puffiness; make sure it’s fresh for the best rise.
- Salt: A pinch enhances flavors beautifully—trust me, it’s not just an optional ingredient.
- Butter: Use unsalted butter at room temperature for easier mixing and better control over saltiness.
- Eggs: They bind everything together; use large eggs for consistent results.
- Vanilla Extract: Opt for pure vanilla extract; it’s worth the extra penny!
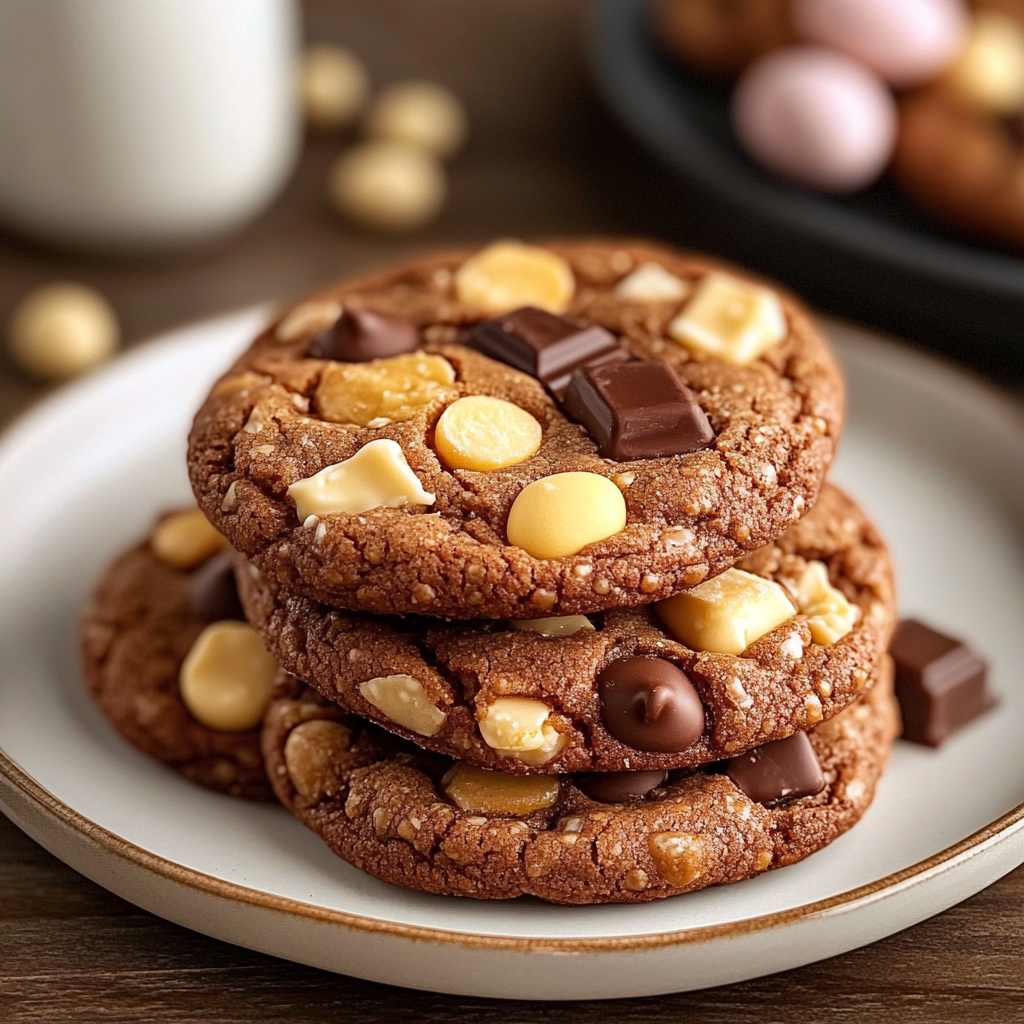
- Chocolate Chips: Semi-sweet or dark chips add that irresistible melty factor.
- Sprinkles (Optional): Choose bright pastel colors to make your cookies look festive!
The full ingredients list, including measurements, is provided in the recipe card directly below.
Let’s Make it Together
Preheat your oven to 350°F (175°C). Prepare two baking sheets by lining them with parchment paper—the non-stick wonder that keeps your delicious creations intact.
Mix Dry Ingredients: In a large bowl, whisk together flour, cocoa powder, baking soda, and salt until evenly combined. The rich aroma should start tickling your nose already!
Cream Butter and Sugars: In another bowl, beat softened butter with granulated sugar and brown sugar until light and fluffy. This takes about 3-4 minutes of vigorous mixing—get those biceps working!
Add Eggs and Vanilla: Beat in eggs one at a time followed by vanilla extract until blended well. The mixture should be smooth with a touch of shine—like liquid gold!
Combine Wet and Dry Ingredients: Gradually stir in the dry ingredients into the butter mixture until just combined. Be careful not to overmix; we want tender cookies, not tough ones!
Add Chocolate Chips: Fold in the chocolate chips (and sprinkles if using) gently with a spatula until evenly distributed throughout the dough—this step is where happiness happens!
Scoop and Bake: Using a tablespoon or cookie scoop, drop dough onto prepared baking sheets about 2 inches apart. Bake in preheated oven for 10-12 minutes until edges are set but centers remain soft—your kitchen will smell heavenly!
Let cool on baking sheets for about 5 minutes before transferring them to wire racks to cool completely. Now you can practice patience while dreaming about indulging in these decadent delights.
This recipe brings smiles all around during festive occasions or simply when you’re craving something sweet! Every bite becomes an experience filled with warmth and joy.
Enjoy crafting these delicious Easter chocolate cookies—it’s like sprinkling love into every bite!
You Must Know
- Easter Chocolate Cookies bring joy not just with their taste but also with their delightful aroma filling your kitchen.
- These cookies are a canvas for creativity, allowing you to mix in your favorite treats.
- Watch as they disappear faster than your kids can say ‘Easter Bunny.’
Perfecting the Cooking Process
Start by preheating your oven to 350°F and preparing your baking sheets. Mix dry ingredients first, then cream butter and sugars before combining everything for even texture.
Add Your Touch
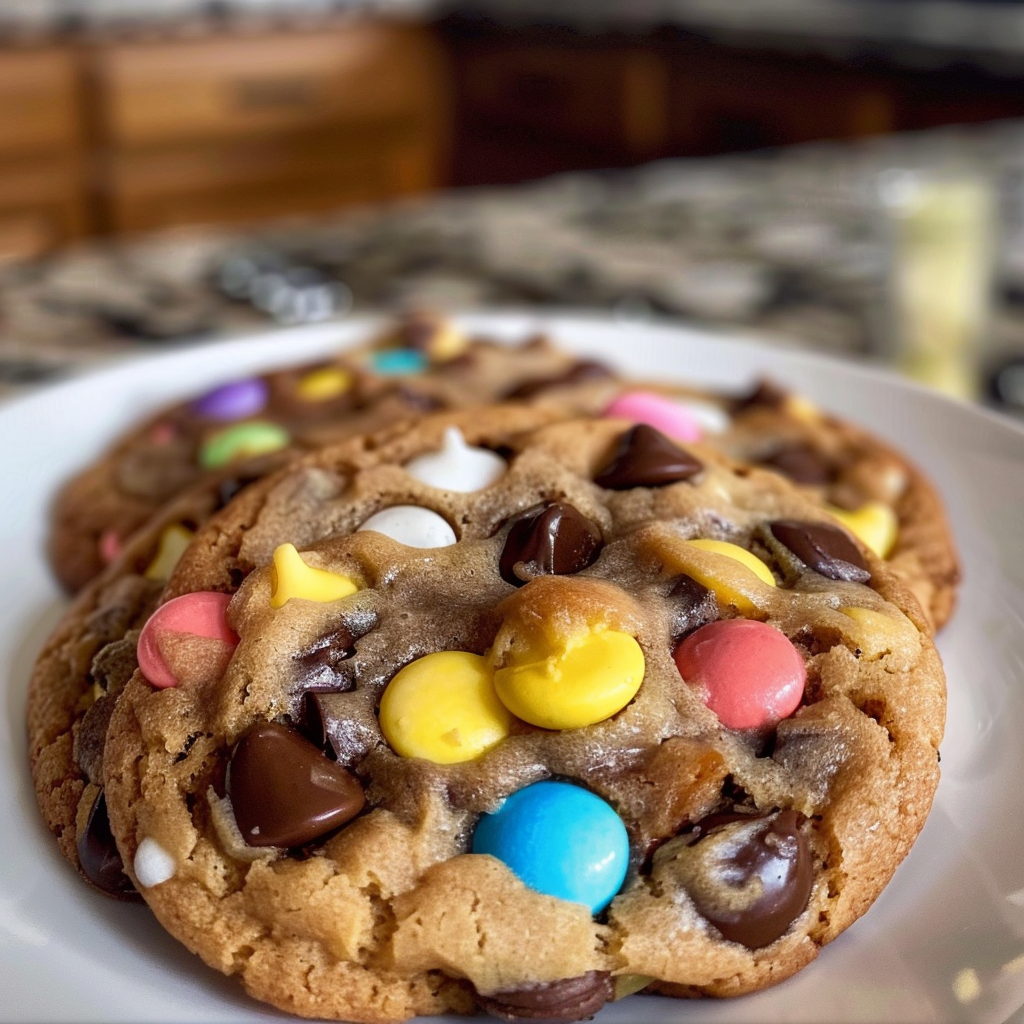
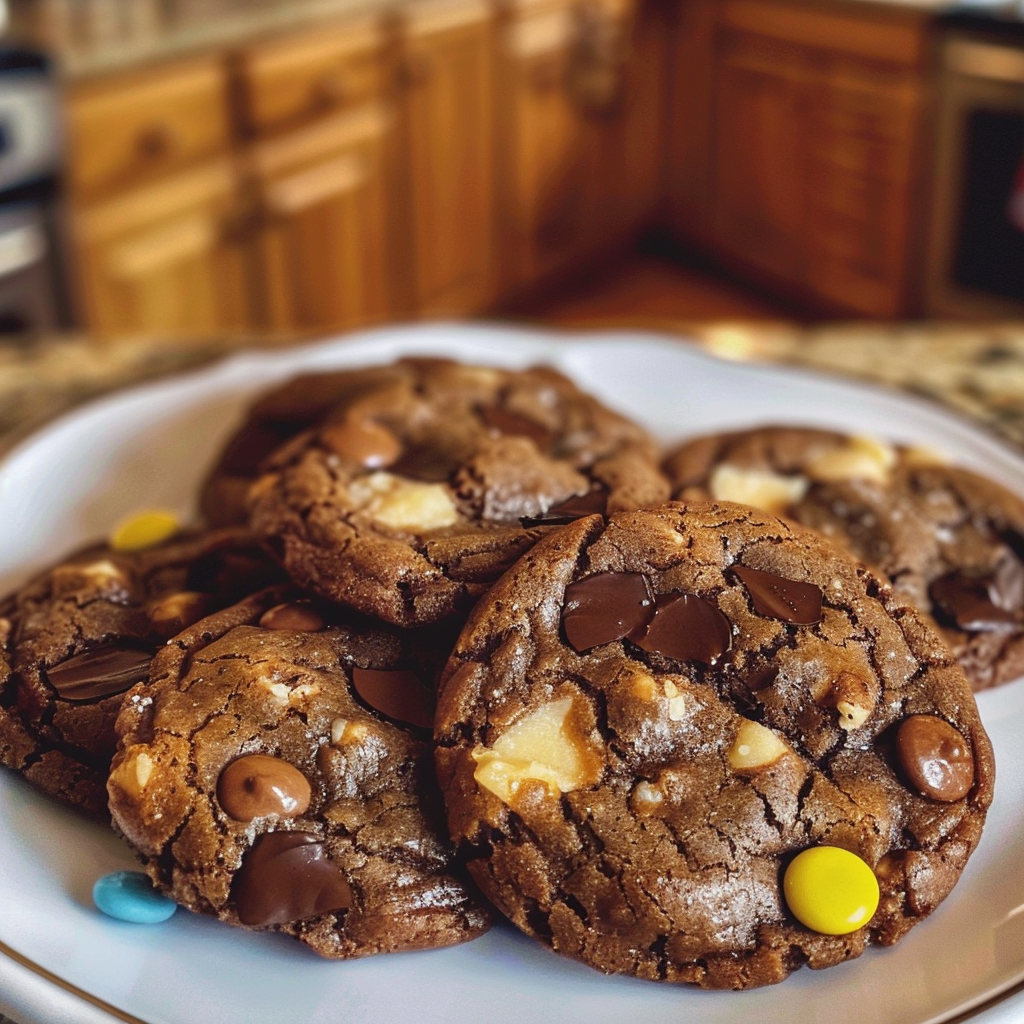
Feel free to substitute chocolate chips with pastel M&M’s or add a sprinkle of sea salt for that sweet-salty combo. Personalize these cookies to fit your family’s favorite flavors.
Storing & Reheating
Store cooled cookies in an airtight container at room temperature for up to a week. For a warm treat, pop them in the microwave for about 10 seconds.
Chef's Helpful Tips
- Use room temperature butter for a smooth dough texture.
- Be careful not to overmix once you combine wet and dry ingredients; this keeps cookies soft and chewy.
- Experiment with different chocolate varieties like dark or white chocolate for unique flavors.
Every time I bake these Easter Chocolate Cookies, my friends can’t help but ask for the recipe. One time, I surprised everyone by adding mini marshmallows—let’s just say they were a hit!
FAQ
Can I use gluten-free flour for Easter Chocolate Cookies?
Yes, gluten-free flour works well; just ensure it’s a 1: 1 blend.
How long can I store these cookies?
You can store them in an airtight container for up to one week.
What chocolate works best in this recipe?
Any chocolate you love will work; try milk, dark, or even white chocolate!
Easter Chocolate Cookies
5 Stars 4 Stars 3 Stars 2 Stars 1 Star
No reviews
- Author: Mery Mack
- Total Time: 27 minutes
- Yield: Approximately 24 cookies 1x
Description
Easter Chocolate Cookies are a delightful treat bursting with rich chocolate flavor and festive sprinkles. Perfect for spring celebrations, these cookies will bring joy to any gathering.
Ingredients
- 1 ½ cups all-purpose flour
- ½ cup unsweetened cocoa powder
- ¾ cup granulated sugar
- ½ cup brown sugar
- 1 tsp baking soda
- ¼ tsp salt
- ½ cup unsalted butter (softened)
- 1 large egg
- 1 tsp pure vanilla extract
- 1 cup semi-sweet chocolate chips
- Optional: colorful sprinkles
Instructions
- Preheat oven to 350°F (175°C) and line baking sheets with parchment paper.
- In a bowl, whisk together flour, cocoa powder, baking soda, and salt.
- In another bowl, beat softened butter with granulated and brown sugar until fluffy.
- Add egg and vanilla, mixing until smooth.
- Gradually combine dry ingredients into the wet mixture until just mixed.
- Fold in chocolate chips (and sprinkles if desired).
- Drop tablespoon-sized dough onto prepared sheets, spacing about 2 inches apart.
- Bake for 10-12 minutes until edges set; centers should remain soft.
- Cool on sheets for 5 minutes before transferring to wire racks.
- Prep Time: 15 minutes
- Cook Time: 12 minutes
- Category: Dessert
- Method: Baking
- Cuisine: American
Nutrition
- Serving Size: 1 cookie (30g)
- Calories: 150
- Sugar: 10g
- Sodium: 100mg
- Fat: 7g
- Saturated Fat: 4g
- Unsaturated Fat: 2g
- Trans Fat: 0g
- Carbohydrates: 19g
- Fiber: 1g
- Protein: 2g
- Cholesterol: 15mg

