If you’ve ever indulged in the creamy, dreamy delight of a Dairy Queen Ice Cream Cake, you know it’s like a party in your mouth. Imagine layers of soft cake mingling with velvety ice cream, all blanketed in fluffy whipped cream and drizzled with fudge. comfort food favorites Now picture this masterpiece sitting on your kitchen counter, ready to make any occasion feel extra special.
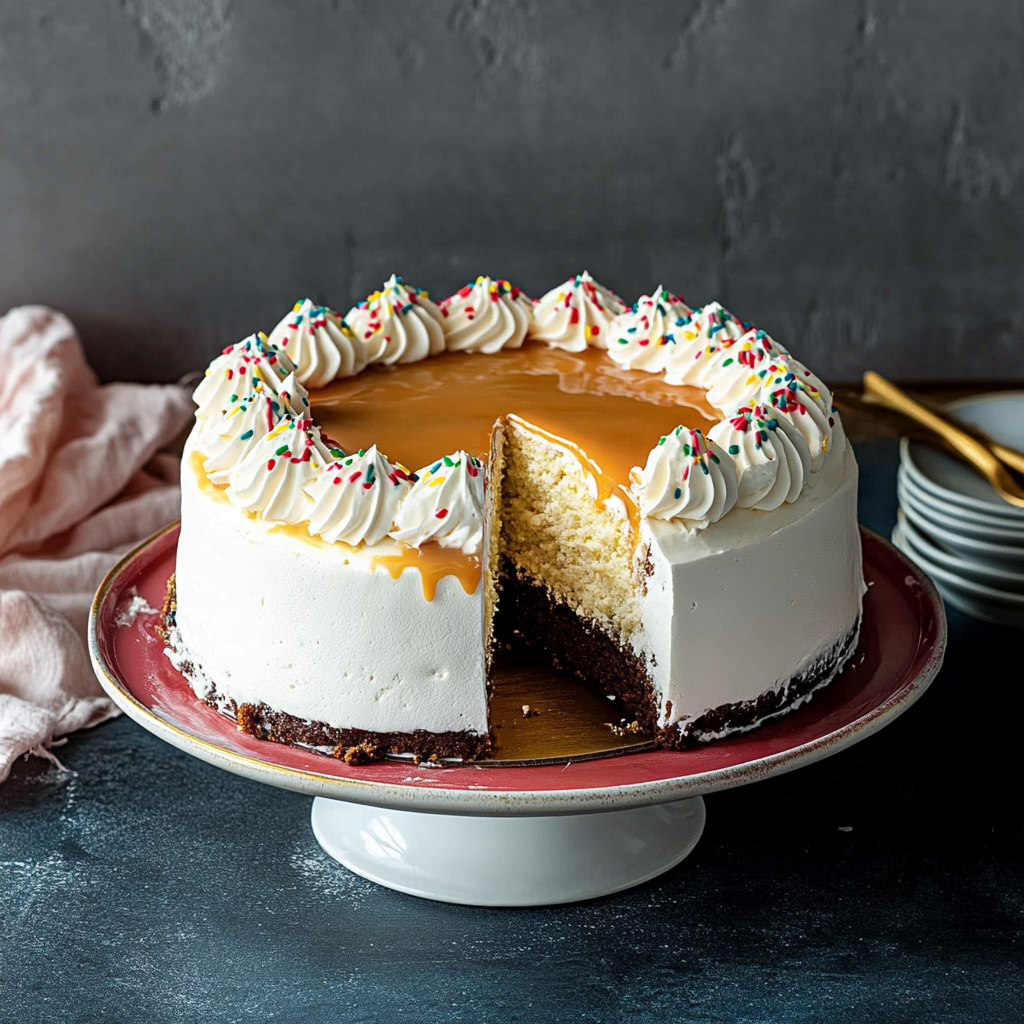
As I reminisce about birthday celebrations where this cake stole the show, I can’t help but smile. Who wouldn’t want to dig into a slice of nostalgia? Whether it’s a summer barbecue or a cozy family gathering, this Copycat Dairy Queen Ice Cream Cake is sure to impress and satisfy cravings for something sweet and cold. cozy meal ideas perfect side dish.
Why You'll Love This Recipe
- This Copycat Dairy Queen Ice Cream Cake is easy to prepare, allowing you to whip it up in no time
- Each bite bursts with rich flavors and delightful textures that are simply irresistible
- Its stunning visual appeal makes it perfect for parties or casual get-togethers
- Versatile enough for any celebration, you can customize flavors to suit your taste buds!
I remember the first time I made this cake for my cousin’s birthday; their eyes lit up like fireworks when they took the first bite.
Essential Ingredients
Here’s what you’ll need to make this delicious dish:
- Chocolate Cake Mix: Use your favorite brand for a moist cake base that pairs beautifully with ice cream. For more inspiration, check out this ultimate chocolate cake recipe recipe.
- Ice Cream: Vanilla is classic, but feel free to use any flavor you adore for a personal twist.
- Whipped Topping: A light and airy topping that adds sweetness and makes the cake look fabulous.
- Chocolate Syrup: Drizzle this over the layers for that signature DQ flavor everyone craves.
- Sprinkles: Because what’s a celebration without some colorful fun on top?
- Parchment Paper: Use this to line your pans for easy removal of the cakes after baking.
The full ingredients list, including measurements, is provided in the recipe card directly below.
Let’s Make it together
Prepare Your Pans: Start by preheating your oven to 350°F (175°C). Grease two round cake pans with non-stick spray and line them with parchment paper for easy removal.
Bake the Cakes: Prepare the chocolate cake mix according to package instructions. Pour evenly into the prepared pans and bake for about 30 minutes until a toothpick inserted comes out clean.
Cool Down Time: Once baked, let the cakes cool in their pans for about 10 minutes before transferring them onto wire racks. Allow them to cool completely before assembling.
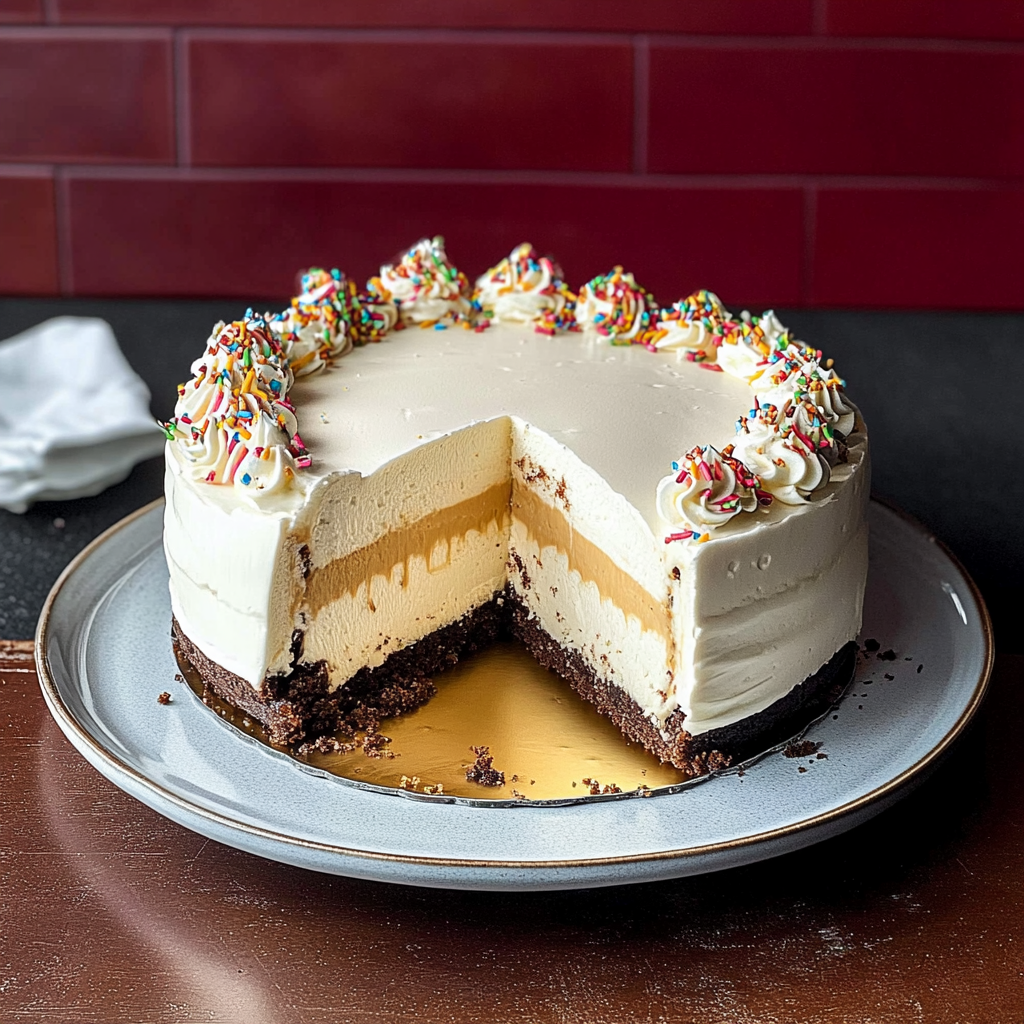
Add Ice Cream Layers: Take one cooled cake layer and spread half of your chosen ice cream on top. Smooth it out evenly so every bite has that luscious ice cream goodness.
Assemble Your Cake: Place the second cake layer on top of the ice cream layer. Press down gently to create a solid base before spreading more ice cream on top of this layer as well.
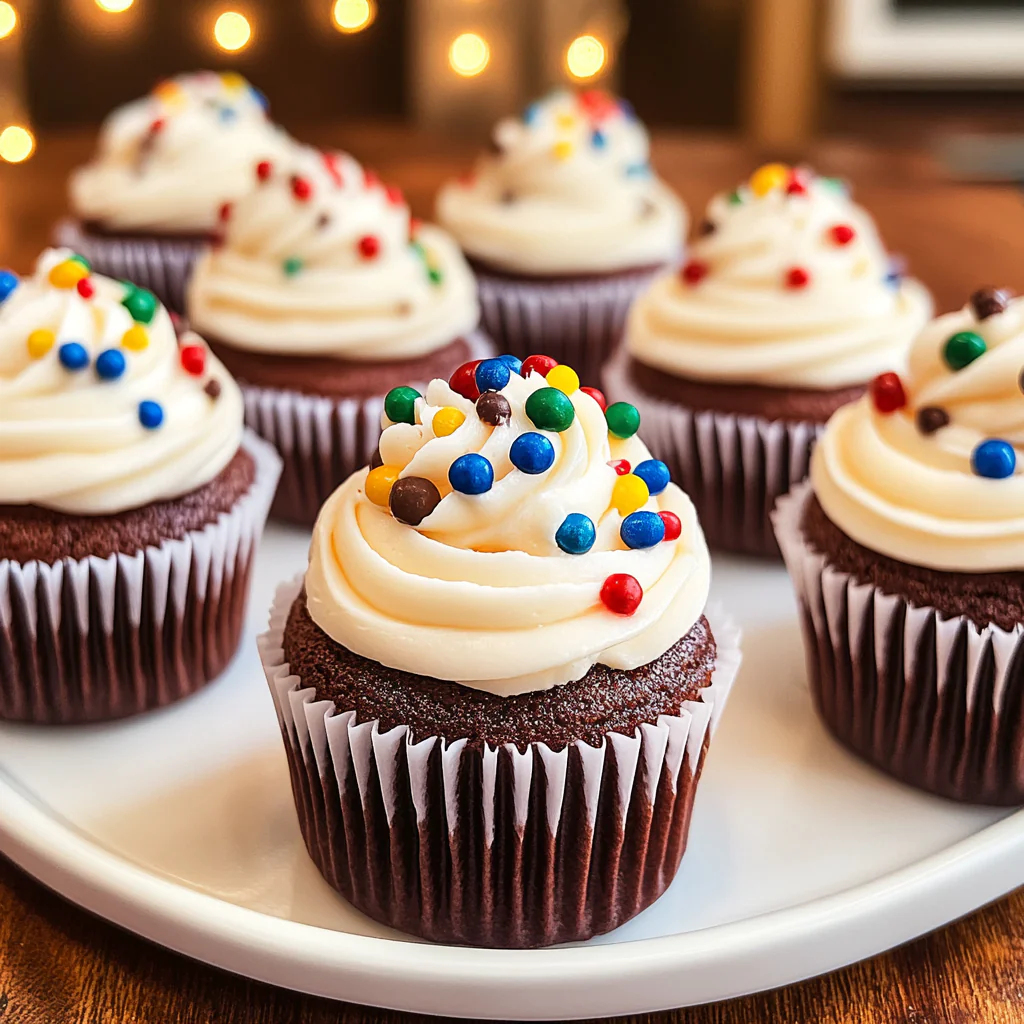
Decorate Like a Pro: Apply whipped topping over the entire cake, smoothing it out with a spatula. Drizzle chocolate syrup over the whipped topping and sprinkle some colorful sprinkles on top for that party-ready look!
Now that you’ve crafted this beautiful Copycat Dairy Queen Ice Cream Cake, it’s time to slice into it and serve! Enjoy every delicious bite as you gather friends and family around—this dessert promises smiles all around! delicious dessert pairing.
You Must Know
- Crafting the perfect Copycat Dairy Queen Ice Cream Cake is easier than you think
- With layers of chocolate and vanilla ice cream, it’s a showstopper for any celebration
- The key is to let each layer freeze thoroughly, ensuring a delightful texture and flavor
Perfecting the Cooking Process
Start by preparing your cake layers first, allowing them to cool while you whip up the ice cream. Then layer the cake and ice cream in a springform pan for easy assembly.
Add Your Touch
Feel free to customize this cake with different flavors of ice cream or add fruit layers. Swapping out chocolate for strawberry might just create your new favorite!
Storing & Reheating
Store the assembled cake in the freezer wrapped tightly with plastic wrap. To serve, slice directly from the freezer, allowing it to soften slightly before enjoying.
Chef's Helpful Tips
- Use a hot knife to cut clean slices through the creamy layers; it makes all the difference
- Ensure each layer of ice cream is well packed for stability when slicing
- Don’t skip chilling between layers; it helps maintain structure and flavor
Creating this cake brings back memories of birthday parties where everyone fought over the last slice, a delicious moment etched in my mind.
FAQ
What is the best way to layer ice cream and cake?
Layering ice cream directly onto cooled cake helps achieve a smooth, even finish.
Can I use store-bought ice cream?
Absolutely! Store-bought ice cream simplifies preparation while still delivering delicious results.
How long can I keep this cake in the freezer?
The Copycat Dairy Queen Ice Cream Cake stays fresh in the freezer for up to two weeks. For more inspiration, check out this decadent Baileys cheesecake recipe.
Copycat Dairy Queen Ice Cream Cake
5 Stars 4 Stars 3 Stars 2 Stars 1 Star
No reviews
- Author: Mery Mack
- Total Time: 50 minutes
- Yield: Serves approximately 10 slices 1x
Description
Indulge in the nostalgic delight of this Copycat Dairy Queen Ice Cream Cake, perfect for any celebration! With layers of moist chocolate cake and creamy vanilla ice cream, all topped with fluffy whipped cream and drizzled with rich chocolate syrup, this dessert is a showstopper. Easy to prepare and customizable to your favorite flavors, it’s a sweet treat that promises to impress family and friends alike.
Ingredients
- 1 box (15.25 oz) chocolate cake mix
- 2 cups vanilla ice cream (softened)
- 1 tub (8 oz) whipped topping
- 1/4 cup chocolate syrup
- 1/4 cup colorful sprinkles
- Parchment paper (for lining pans)
Instructions
- Preheat the oven to 350°F (175°C). Grease two round cake pans and line with parchment paper.
- Prepare the chocolate cake mix as per package instructions. Divide the batter evenly between the prepared pans.
- Bake for about 30 minutes, or until a toothpick inserted comes out clean. Let cakes cool in pans for 10 minutes before transferring to wire racks to cool completely.
- Once cooled, place one cake layer on a serving plate and spread half of the softened vanilla ice cream on top.
- Add the second cake layer on top of the ice cream and gently press down. Spread the remaining ice cream over the second layer.
- Cover the entire cake with whipped topping, drizzle with chocolate syrup, and finish with colorful sprinkles.
- Freeze for at least 2 hours before serving.
- Prep Time: 20 minutes
- Cook Time: 30 minutes
- Category: Dessert
- Method: Baking
- Cuisine: American
Nutrition
- Serving Size: 1 slice (100g)
- Calories: 295
- Sugar: 29g
- Sodium: 210mg
- Fat: 12g
- Saturated Fat: 7g
- Unsaturated Fat: 4g
- Trans Fat: 0g
- Carbohydrates: 43g
- Fiber: 1g
- Protein: 3g
- Cholesterol: 30mg

